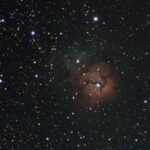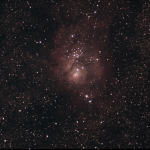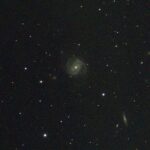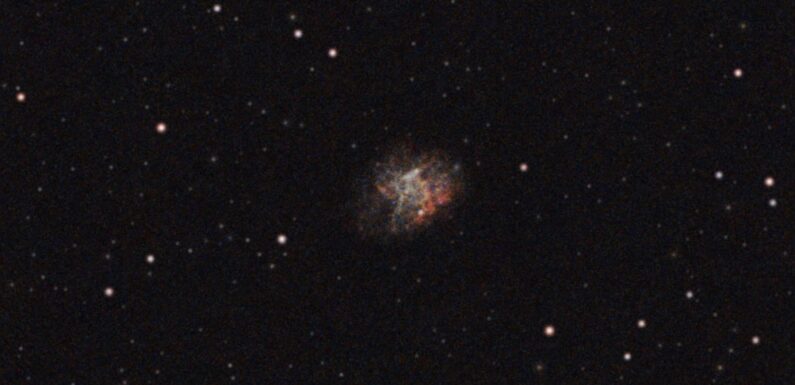
GraXpert is a free opensource tool which can use Artificial Intelligence (AI) models to perform background extraction (gradient removal) and denoising (noise removal) on astrophotography images. I have been tinkering with this tool using a FITS image saved from a live stack on the SeeStar S50. I am taking the live stack results of the Crab Nebula (M1) and processing it using the free opensource tool GraXpert for background extraction and noise reduction. Then finalizing the processing in the opensource tool Siril.
I started with this live stack result from 120 x 10 second exposures of M1, the Crab Nebula, captured by the SeeStar during an EAA session on 04/22/2024. This is just as it was observed and saved on the SeeStar without any post processing (other than cropping).
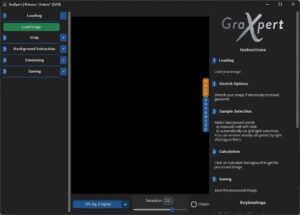
Download GraXpert from https://www.graxpert.com/ for your OS, install, and then launch GraXpert.
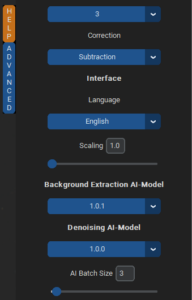
To enable the AI Model enter the GraXpert Advanced menu (located on the right hand side of the Window) and use the drop down to select the AI-Model you want to use for Background Extraction and for Denoising.
Open the stacked image in GraXpert. The image should not be processed or stretched prior to opening in GraXpert since the AI Models are trained using non-stretched images. Once the image is loaded use this workflow in GraXpert to process the image:
- Crop – To remove any stacking and field rotation artifacts from the corners and edges of image.
- Background Extraction – Set Interpolation Method to AI (the first time you run Background Extraction you will be prompted to download the AI Model.)
- Denoising – Adjust the Denoise Strength if wanted, the default is 0.5 (the first time you run Denoising you will be prompted to download the AI Model.)
- Save the GraXpert processed image.
Open the GraXpert processed image in Siril. This is the basic workflow I use when processing an image in Siril:
- Remove Green Noise (I don’t think this is needed after GraXpert, but it doesn’t hurt anything to run it)
- Apply Photometric Color Calibration
- Remove Stars using Star Processing -> StarNet Star Removal… This creates a starless image and a starmask image.
- Use Generalized Hyperbolic Stretch Transformations to stretch the starless image.
- Adjust Color Saturation of the starless image.
- Save the processed starless image. I save this as a new image so I can rework the original if needed.
- Open the starmask image and use Generalized Hyperbolic Stretch Transformations to stretch the starmask image. You can stretch the starmask during recomposition, but there is no undo so I prefer to open it and stretch before recomposition.
- Save the processed starmask image. I save this as a new image so I can rework the original if needed.
- Recombine the starless and starmask images using Star Processing -> Star Recomposition… Since I have processed the starless and starmask I do not apply any stretching during the recomposition.
- Save the recombined image. I find it very useful to save this image as the next couple of Siril scripts can sometimes produce less than desirable results and there is no undo for the scripts.
- Run the Fix Misshapen Stars Siril Script to fix up any elongated stars.
- Run Star Reduction Siril Script to remove some of the small dim stars.
- Final tweaks using Generalized Hyperbolic Stretch Transformations and Color Saturation of the recombined image.
- Save the final processed image. I save the final image as a 32-bit FITS and as a JPEG. This JPEG is what I typically share on SuffolkSky.com
After processing I end up with several images:
- The original stacked image – no post-processing work.
- GraXpert processed image – crop, background extraction, and denoising.
- Starless unprocessed image – starless image created from GraXpert processed image with no other processing.
- Starless processed image – results of Generalized Hyperbolic Stretch Transformations and Color Saturation on starless image.
- Starmask unprocessed image – starmask image created from GraXpert processed image with no other processing.
- Starmask processed image – results of Generalized Hyperbolic Stretch Transformations on starmask image.
- Recombined image – recomposition of starless and starmask before final processing.
- Final fits image – recomposition of starless and starmask with final Siril scripts and adjustments to Generalized Hyperbolic Stretch Transformations and Color Saturation.
- Final jpeg image – same as the final fits image, just easier to share.
Saving these images along the way keeps me from having to go through the entire process if I want to go back a rework something.
Here are the final image results of the same 120 x 10 second Crab Nebula capture from the SeeStar after processing with GraXpert and Siril using the workflow above.
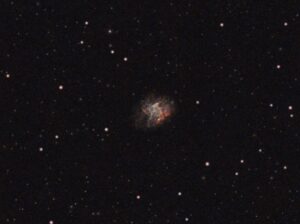
Still a little bit over done, but a pretty even background and significantly less noise.
That was just a 20 minute SeeStar image, what if I apply a similar process to a calibrated long exposure stack? I reprocessed an image of M51 from data I captured back on 04/13/2024 through the SV503 102ED with the ZWO ASI294MC Pro. The 36 x 300 second exposures of M51 were stacked with Sirilic calibrated by applying flats and darks. Then processed in GraXpert and Siril using basically the same workflow above to get the results below.
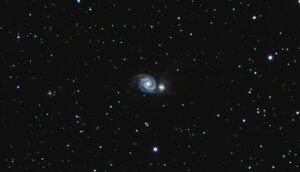
Wow! I think that looks great. The background was already fairly flat but that is a significant reduction in noise. It made stretching the image so much easier and I was able to tease out some more color. A bit of CA on a few of the brighter stars, but I can live with that.
I continue to work on my processing and continue to learn just how much I do not know. Still a lot to learn but getting a little better every session.
GraXpert is a great tool to have in the toolbox. Saves a ton of time and the AI does a much better job than I do when I try to do these processes manually. Hopefully it doesn’t become self-aware 🙂
