Exploring the Suffolk Virginia Night Sky – Astronomy, Astrophotography, Telescopes, EAA – Planets and Stars and Nebula and Galaxies – Looking, Learning, Sharing… Let's see what we can see…
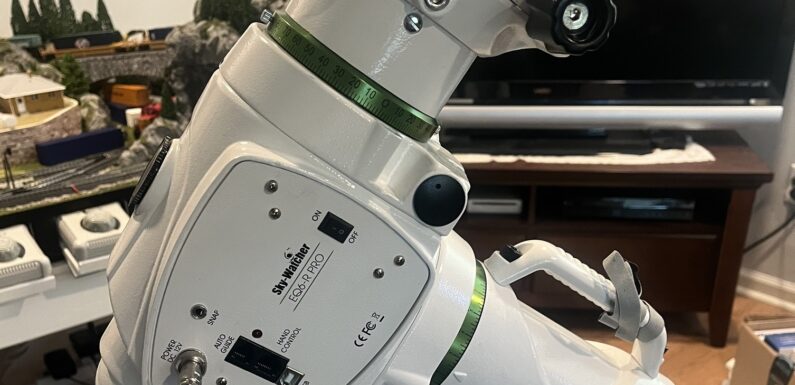
I have had my Sky Watcher EQ6-R Pro mount for a bit over a year now and it is a fantastic mount! Great payload capacity and solid performance with my typical guiding RMS around 1 arcsecond or less. Recently I noticed when balancing the mount the DEC axis seemed a little sticky. Based on my guiding calibrations there is also a little backlash in both the RA and DEC worm gears that I think I should be able to adjust out. With clouds in the forecast for the next few days I figured this would be the perfect opportunity to do a little maintenance and tune up on the EQ6. I tuned up one of my Celestron Advanced GT CG5 mounts some time ago, I hear the new owner is still having great success with it.
This is a basic tune up on the Sky Watcher EQ6-R Pro mount, not a full hypertune. I did not replace any bearings. I disassembled both the RA and DEC, cleaned up all the old grease, re-greased with some Super Lube synthetic grease, and did some fine adjustments to make operation a bit smoother and to reduce the amount of backlash. Basic maintenance since the mount has been well used over the past year and a half. Maybe it will improve my guiding a bit.
To disassemble and reassemble the mount requires a few basic tools:
Couple different sizes of flat and Philips head screwdrivers.
Set of metric Allen head wrenches.
Small strap wrench will help with the RA axis nut.
One of these spanner wrench lens tools is pretty useful if you plan to disassemble the worm gear carriers.
Plenty of paper towels and a mild solvent for cleaning up the old grease.
Leave the mount on the tripod when disassembling, this just helps hold things in place and makes it easier to work around the mount. On both the RA and DEC watch for the tapered roller bearing which might try to fall out when you remove the primary nut on each access. Not that big of a deal, but if you are not replacing them you don’t want to damage them. On the locks there is also a small brass spacer which may or may not come out when you remove the locks, just keep an eye out for it.
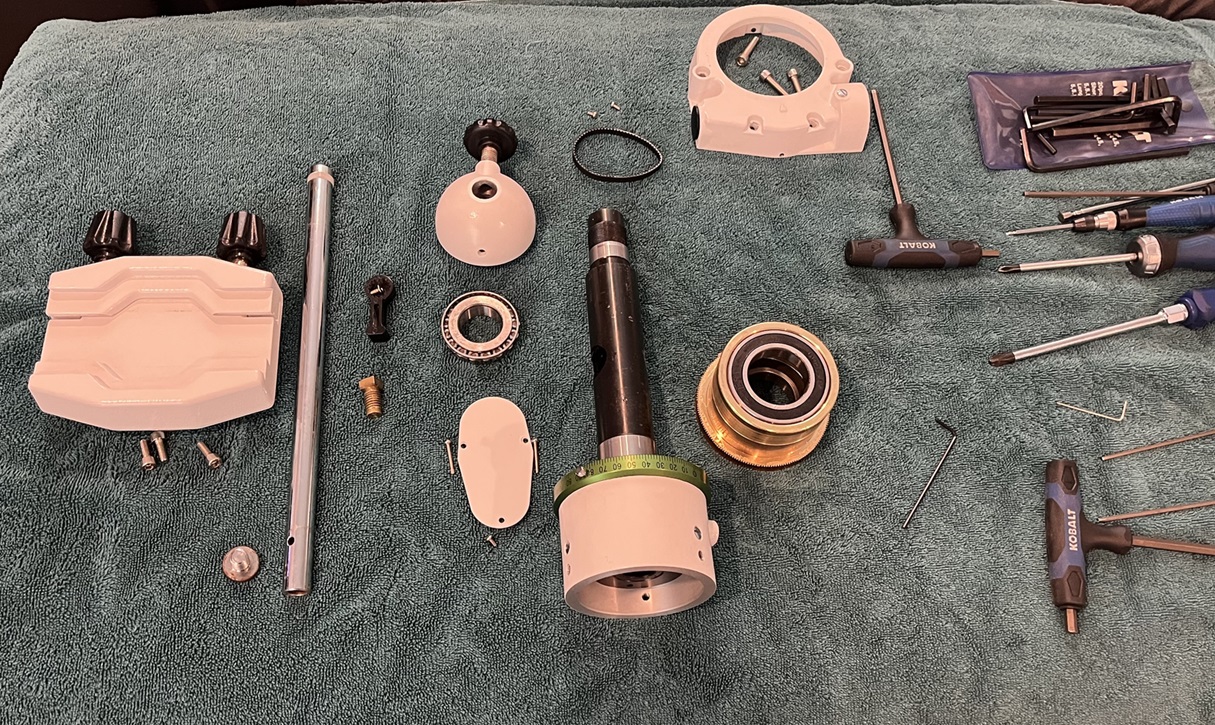
First I disassembled the DEC axis. Pretty easy to do, just take it slow and keep everything organized. Remove the saddle and the counter weight bar, then loosen the 3 set screws and remove the main nut from the bottom of the DEC axis, you should be able to remove this by hand.
To remove the worm gear carrier you will need to loosen and remove the drive belt. Then remove the 4 bolts holding on the worm gear carrier and then remove the DEC axis from the mount head. With the DEC axis is removed from the mount head you can disassemble, clean it up, and lube it. When you disassemble the DEC axis watch out for the clear washers. Mine only had one between the worm gear bearings and the bearing in the mount head, but some mounts have more (some mounts don’t have any).
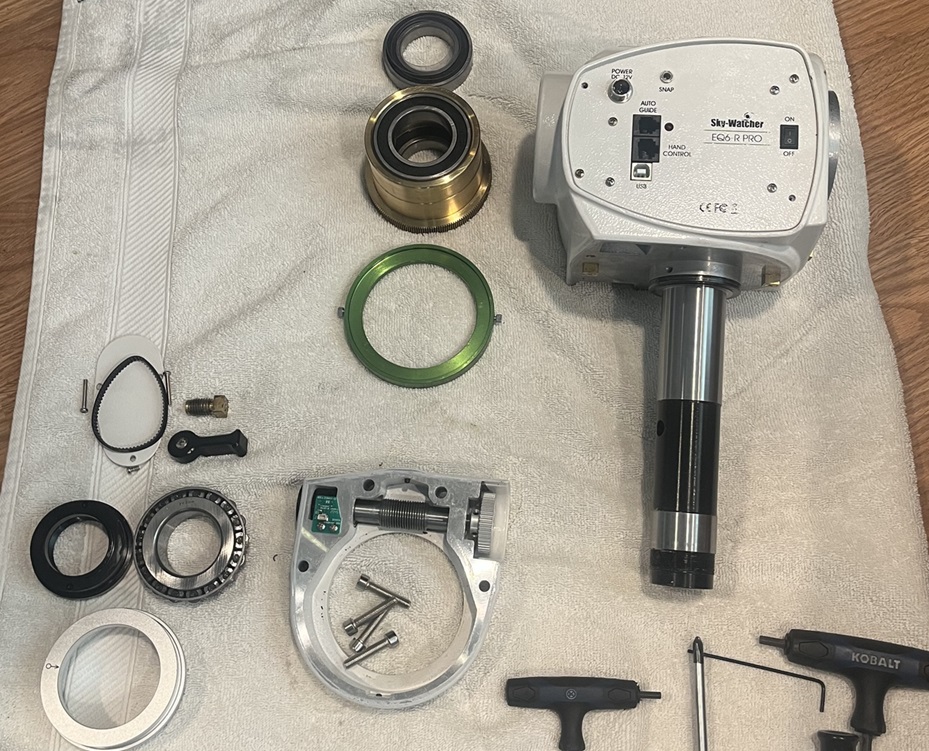
With the DEC axis disassembled I moved on to the RA. The RA axis comes apart pretty much the same way the DEC axis does. Remove the cover and the polar scope should be able to be unscrewed by hand. Remove the aluminum channel that holds the cover on, there are 2 set screws holding it in place. Loosen the 4 set screws on the main nut at the bottom of the RA axis and then use a strap wrench to remove the nut, it is on there pretty tight. Just take your time and keep the parts organized.
Loosen and remove the drive belt on the RA worm gear. There is an encoder on the RA worm gear carrier that needs to be disconnected. If you are not messing with the bearings in the carrier you don’t have to remove the encoder, but you will need to disconnect the wire. The connector is keyed so it can only be reconnected one way. The RA axis can now be removed from the mount head and disassembled. On the RA axis of my mount there were 3 of those clear washers between the worm gear bearing and the bearing in the mount head.
Before reassembling apply a thin coating of Super Lube synthetic grease to the worm gears. Then reassemble the mount in the reverse order it was taken apart. Assembling the RA axis first and then the DEC axis. I adjusted the mesh on worm gears on each axis as I reassembled them, then did a final adjustment after the entire mount was assembled.
If you are looking for something a bit more step-by-step this video extremely helpful. Good details on the disassembly and the assembly of the RA axis and the DEC axis.
I definitely agree with him that most of the stuff is over tight from the factory.
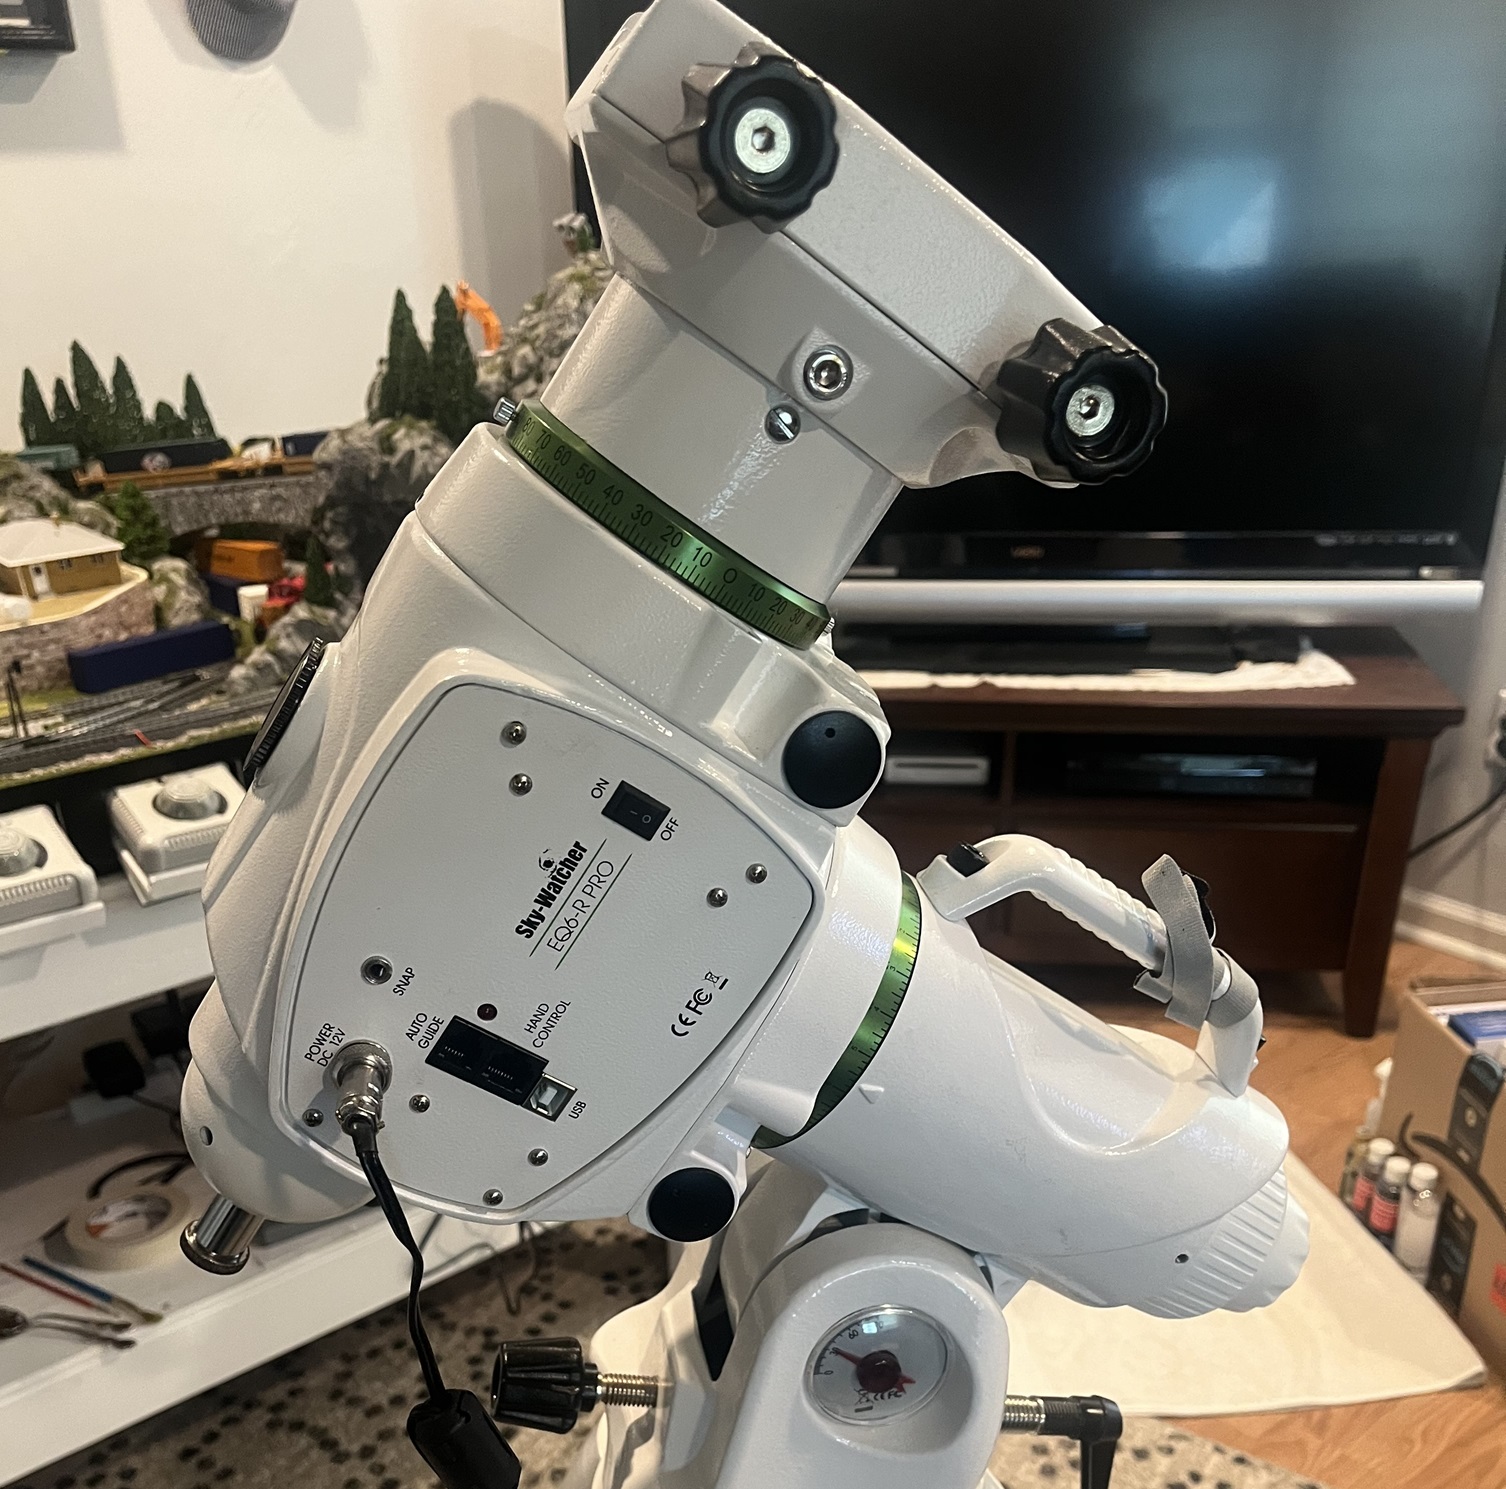
After reassembling everything I attached the hand controller and powered on the mount. I ran the DEC and RA axis a full 360 degrees in both directions to make sure nothing was binding up. All seems to be well and there is no movement or backlash that I can feel.
With a little mechanical ability, time, and a bit of patience the Sky Watcher EQ6-R Pro mount (or really just about any EQ mount) is pretty easy to tune up. Here are a few tips:
Take your time.
Keep your parts and pieces organized.
Take pictures to document the disassembly.
Don’t use too much grease. Just a thin coating is all you need.
Make small adjustments.
Don’t over tighten things.
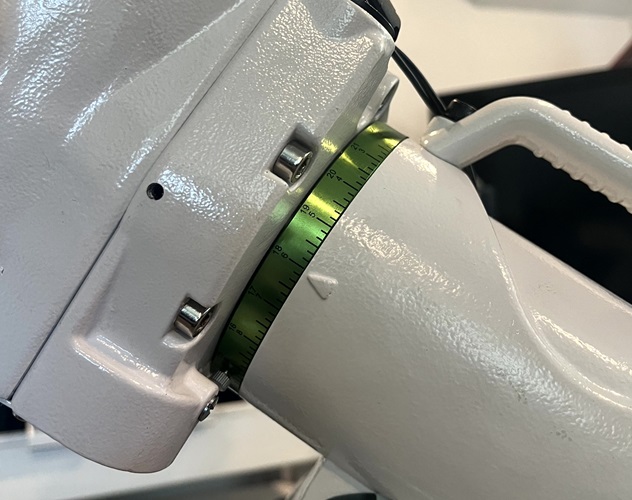
After getting everything put back together I had to reset the setting circles, or re-zero the mount. With the mount level on the tripod I rotated the RA axis to be horizonal and used a level on the counter weight bar to level the RA axis horizontally. Move the RA setting circle to where “6” lines up with the mark on the mount and lock it down the setting circle.
Rotate the RA axis till the mark lines up with 0 on the setting circle. The RA axis of the mount is zeroed.
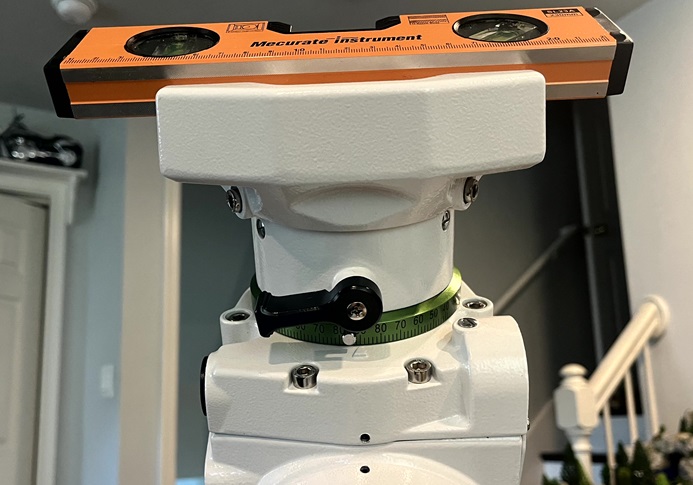
Move the level to the saddle to set the DEC axis. Rotate the saddle horizontally till it is level and rotate the DEC setting circle so “90” lines up with the mark on the mount. Lock down the setting circle.
Rotate the DEC axis till the mark lines up with 0 on the setting circle. The DEC axis of the mount is zeroed.
Not sure the total time it took me, I worked on it a little here and a little there. Probably not much more than about 2 hours total.
Everything is back together, zeroed, and seems to be working as it should. After I get the mount set back up with the scope I may need to make some minor adjustments to the worm gear mesh, but we will see. The true test will be when I can get it back out looking up… hopefully soon…