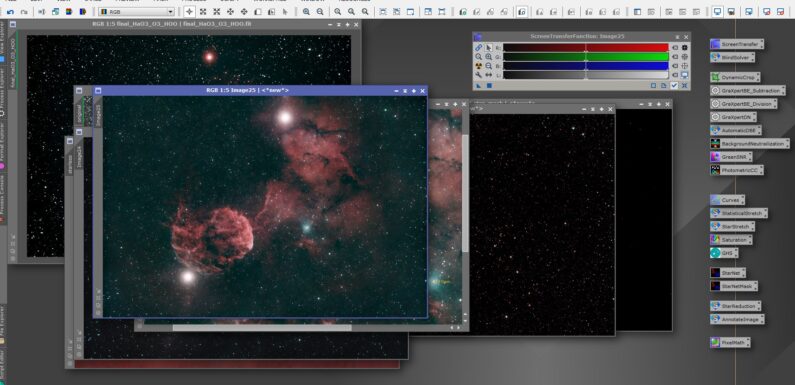
Recently I requested and downloaded the free trial from PixInsight. Wanted to give it a try to see what I could do with it and see if it might be worth the price. In this post I’ll jump around PixInsight a bit covering the different work areas, looking at some of the processes and tools, and providing a beginner image processing workflow I put together that produces some decent results. I am learning myself but hopefully this post will provide some helpful tips for getting started with using PixInsight to process Astrophotography images.
I requested a PixInsight Trial in the morning on December 4, 2024. I received a message with the download and activation instructions a few hours later. I download the most current version, installed, and activated the trial. The trial period is for 45 days from when you trial request is approved. Version and license information can be viewed from the menu Resources -> About PixInsight. My trial is set to expire on 01/18/2025.
Up until now I have used free opensource software to process my images. PixInsight is not free and not inexpensive. Siril is a great free opensource astrophotography processing tool which has taught me a ton about image processing. There are likely ways to do everything you can do in PixInsight in free opensource software, but in just the few days I have been tinkering with PixInsight the thing I like about it most so far, and what I think makes it worth the cost, is the ability to get consistent, repeatable, results. This is something I have constantly struggled with when using Siril, I can run an image through the same workflow multiple times in Siril and for whatever reason not be able to reproduce the same results. I am not having this issue with PixInsight, I am able to produce the same results time and time again.
PixInsight is installed… time to jump right in.
Frist a few quick TLDR tips…
- Request the PixInsight Trial when you have time trial it, the 45 days starts when the trial is approved.
- Create a Default Project with your most used Scripts and Process Instances saved to the Workspace.
- Duplicate Views of the original data to experiment with different processes and scripts. This keeps the originals unchanged.
- Zoom In and use Undo/Redo to compare Views before and after changes.
- Document your workflow and what works best for you. This will help with the ability to consistently repeat your successes.
- Save your workspace as a project so you can pick up where you left off.
PixInsight Workspace and Views
It is a bit overwhelming… the biggest learning curve was just trying to figure out where everything was. After a bit of bumping around in the UI things started to come together.
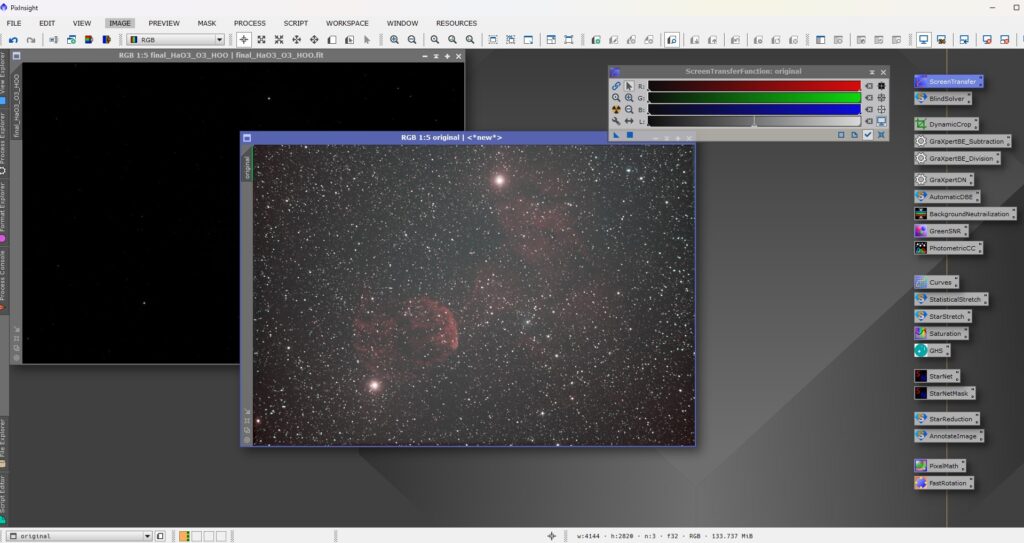
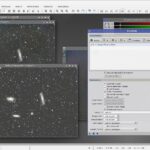
Pretty standard stuff across the top file menu. From FILE is where you can open images, save images, save projects, etc. The Undo/Redo buttons are definitely your friend. You can work across multiple workspaces which you can switch between from the bottom toolbar. The bottom toolbar also provides a quick way to switch between Views (Views are images on a workspace).
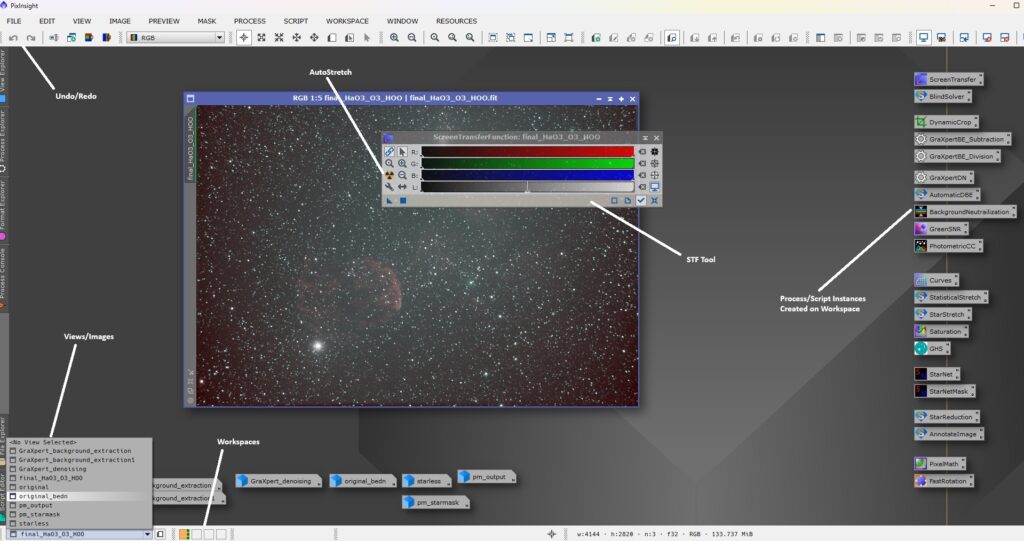
The Screen Transfer Function or STF is where you will find the AutoStretch tool (the icon that looks like a nuclear warning). The STF tool can be found in PROCESS -> < All Processes > -> ScreenTranferFunction. Using the STF you can AutoStretch linked or unlinked channels and Reset the View to linear. The STF tool does not make any changes to the image, only how it is displayed on the screen.
Views can be duplicated and renamed from the toolbar, from the IMAGE menu, or by right clicking on the View. Select Identifier to change the Views name, select Duplicate to create an exact clone of the View.
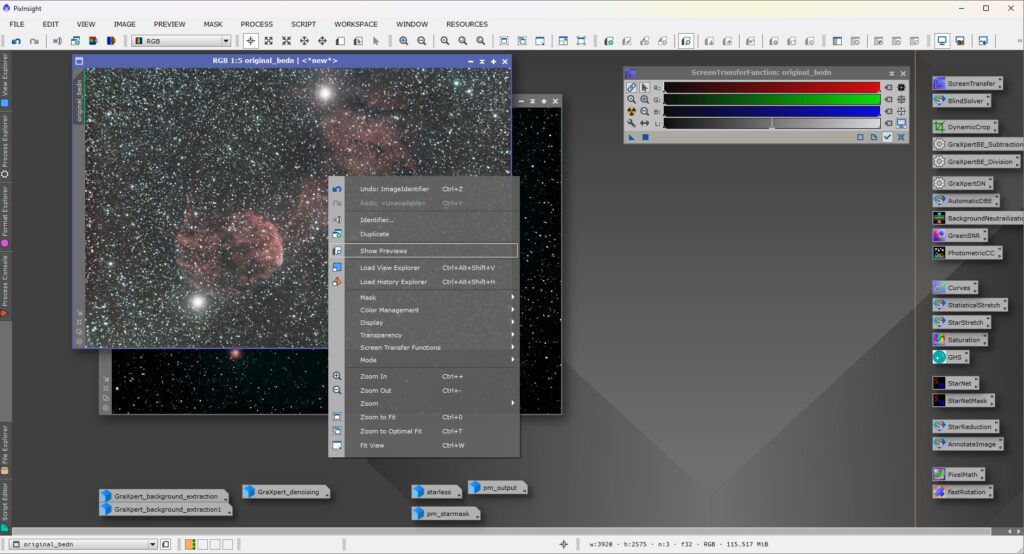
The Window and Zoom of the View is also easily managed and adjusted from the right-click menu. If you get lost in a zoom or maximized window, right-click -> Zoom to Optimal Fit to get the View in a window sized optimally for your workspace.
Processes and Scripts
The Process and Script menus provide access to all the tools available for image processing. Process -> < All Processes > list all the available processes in Alphabetical order.
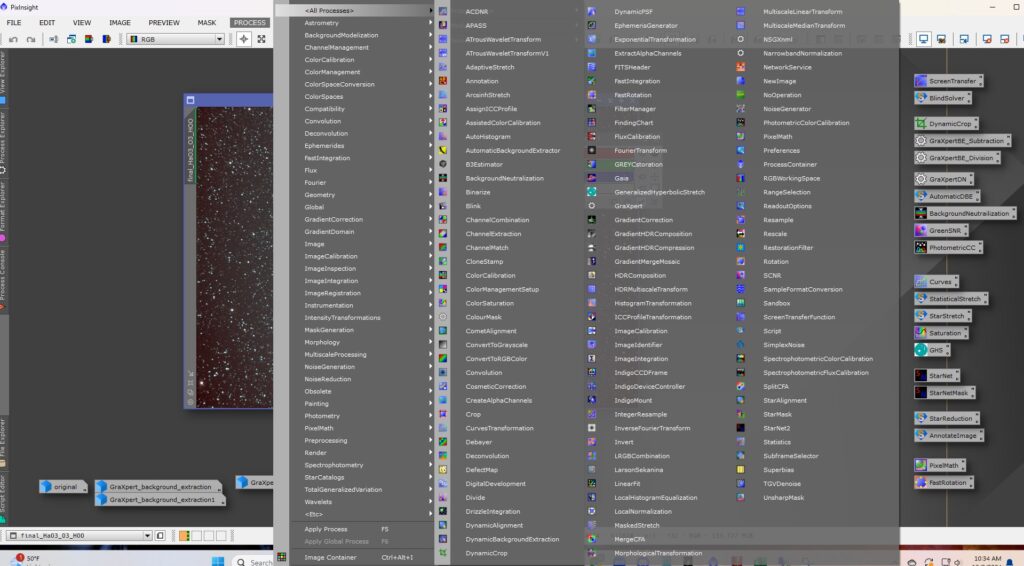
Processes and scripts have a toolbar which includes:

- New Instance – Opens a new instance of the process or script. The instance can be dragged on to the Workspace to create a process icon or on to an image to execute the process on the image.
- Execute – Executes the process or script with the configured parameters.
- Live Preview – Show a live preview based the current parameters.
- Edit Source Code – Adjust parameters and such in source code. Have not used this at all… pretty sure this is way advanced stuff.
- Documentation – Opens the Tools Documentation.
- Reset – Reset the parameters to the defaults.
Processes and scripts can be launched from the menu or from icons on the Workspace. Some processes can be executed by dragging the instance on to a View within the Workspace. Experimenting is the easiest way to get this figured out… (remember the undo, redo buttons).
Third Party Plugins, Modules, Processes, and Scripts
There are a lot of 3rd Party plugins which extend, combine, or help automate the capabilities of PixInsight. Most of these are free, some are paid. All of the ones below are free and will be needed as part of my PixInsight Beginner Processing Workflow later in this post.
Third Party Script Repositories can be configured in RESOURCES -> Updates -> Manage Repositories
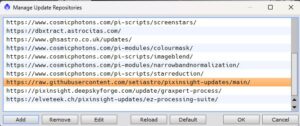
SetiAstro PixInsight Scripts – https://www.setiastro.com/pjsr-scripts
SetiAstro Scripts are a set of tools to help make PixInsight processing easier. These scripts include Statistical Stretch, Star Stretch, Blind Solver 2000, BlemishBlaster, and more.
Install in PixInsight via Resources -> Manage Repositories and add the following URL: https://raw.githubusercontent.com/setiastro/pixinsight-updates/main/
SetiAstro Scripts are found in Script -> SetiAstro
GraXpert – https://graxpert.com/
GraXpert provides AI powered background extraction and denoising. GraXpert is very good at removing gradients and noise from images.
Download and Install GraXpert
Install in PixInsight via Resources -> Manage Repositories and add the following URL: https://pixinsight.deepskyforge.com/update/graxpert-process/
Launch from Process -> < Etc > -> GraXpert
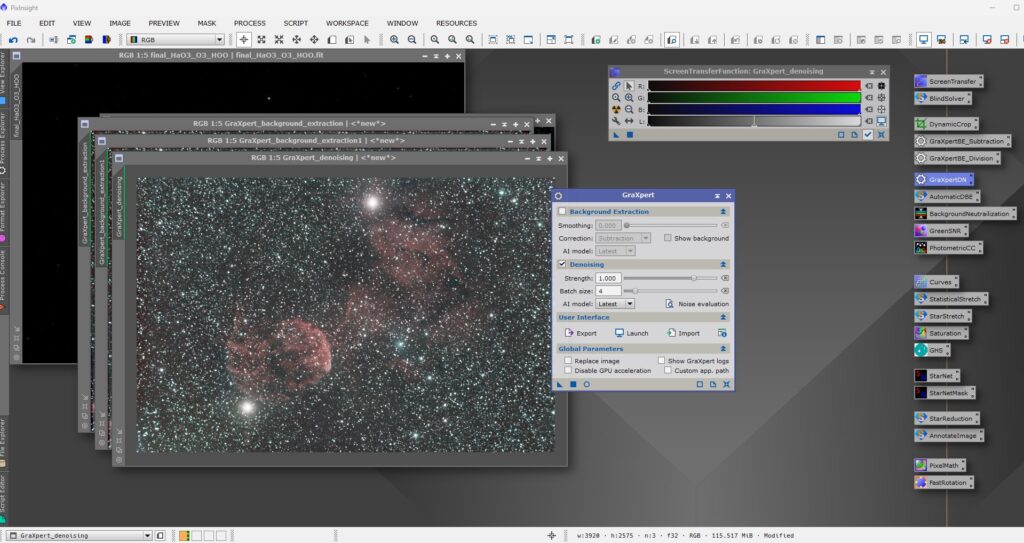
I created 3 Instances of the GraXpert Process: one for Background Extraction – Division, one for Background Extraction – Subtraction, and one for Denoising.
Generalised Hyperbolic Stretch (GHS) – https://www.ghsastro.co.uk/
If you are familiar with Siril you are familiar with Generalised Hyperbolic Stretch. This tool brings GHS stretching functionality to PixInsight.
Install in PixInsight via Resources -> Manage Repositories and add the following URL: https://www.ghsastro.co.uk/updates/
Launch from Process -> < All Processes > -> GeneralizedHyperbolicStretch
StarNet – https://www.starnetastro.com/
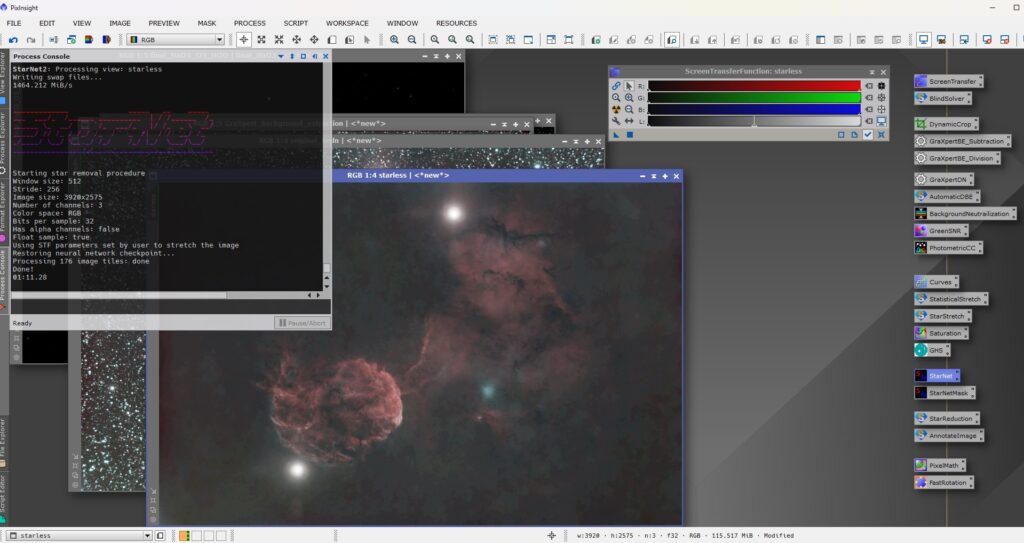
StarNet is used to remove stars from a View so the nebulosity and the stars can be processed separately.
Download StarNet from https://www.starnetastro.com/download/
View the README in the zip archive for detail installation instructions.
Once StarNet is installed use Process -> Modules -> Install Modules to add StarNet to the PixInsight Processes.
Once repository links are added, load them into PixInsight by running RESOURCES -> Updates -> Check for Updates.
PixInsight Projects
You can save your Workspaces as a Project. A Project can save everything on the associated Workspaces: Views(images), processes, icons, etc.
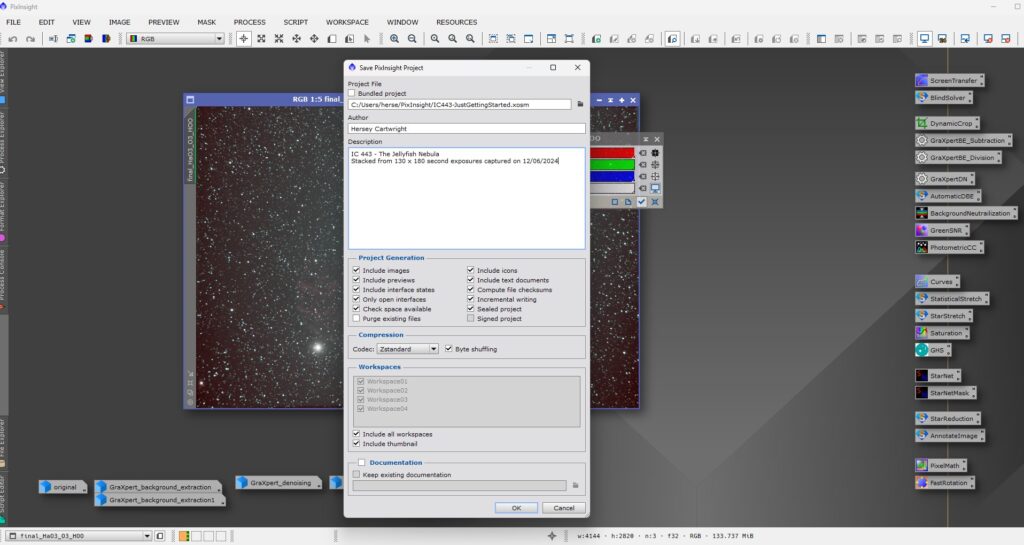
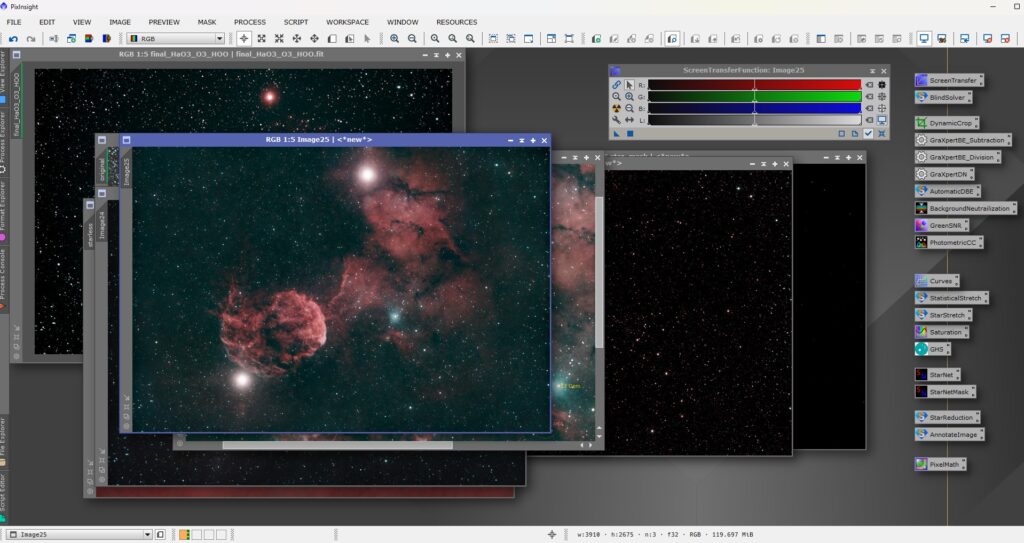
A great tip from Kahpenya in our Discord channel was to create a Default Project with your process icons on your workspace. Load that project when you load up PixInsight to give you a starting point for processing your images. This is my default project with my most used process/script instances on the right hand side of the workspace.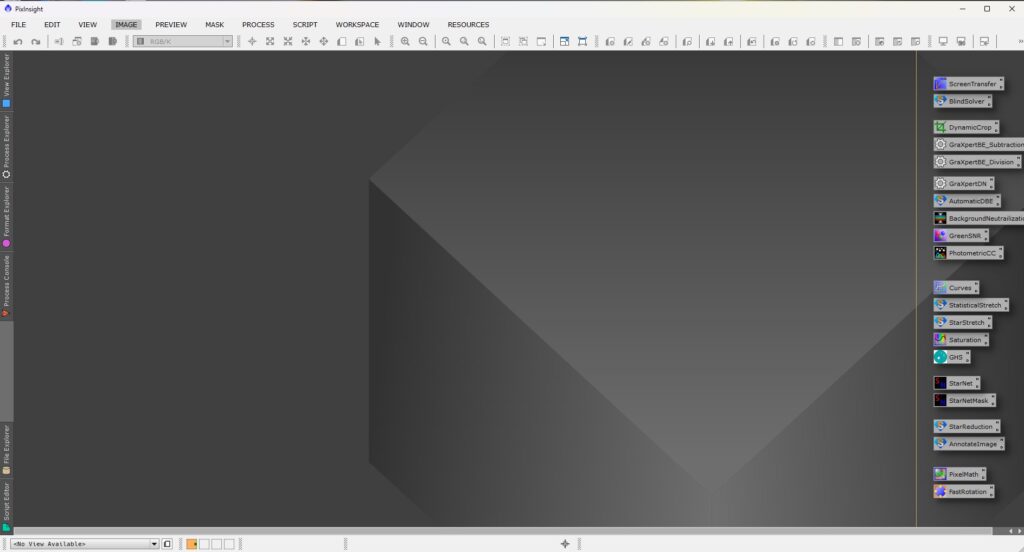
To add process/script instances to your workspace, open the Process from the PROCESS Menu, adjust the instance parameters to your liking, select and drag the New Instance from the process bottom toolbar to the workspace, rename the process icon, and finally position it on your workspace where you want it. I have mine grouped in basically the order I use them… kind of. Once you have this set up the way you want it, just save you workspace as a Project.
My PixInsight Beginner Image Processing Workflow
There is SO much to learn about PixInsight… where do you start? This is a walk through of a workflow I developed and have been using to process some images. It is pretty basic but it is very repeatable. The workflow uses the default parameters for most processes and scripts. If you want to use follow along with my data from IC 443, the FIT file from the Sirilic stack can be found on my Google Drive here: IC443-130x180s_HaO3_O3_HOO_12062024.fit
Sirilic was used to stack 130 x 180 second exposures at 121 gain, 30 offset, and bin 2×2. The stacking process included calibrating with a master dark, but no flat was used. The frames were captured on 12/06/2024, more information on the light captured during this session can be found in this post 12/06/2024 – The Jellyfish Nebula, IC 443
Stack the frames with Sirilic
Stack and Calibrate using Sirilic.
I know there are processes for stacking and calibrating images in PixInsight, will probably look into those another time. For now I’ll continue to use Sirilic for the stacking… it is fast and it is a process I familiar with.
Open the Stacked Image in PixInsight
- Open my Default Project with my Processes and Script instances on my Workspace
- Open stacked fit produced by Sirilic
- Duplicate the stacked image and rename the cloned image to “original” – I don’t want to make changes to the original stack, I want to work off a copy.
- Minimize or close the original stack so I don’t make any accidental changes to it.
Prepare the original for processing: Crop, Solve, Background Extraction and Denoise.
- Dynamic Crop to crop out any stacking artifacts from the edges.
- Run SetiAstro BlindSolver 2000
- Apply Photometric Color Calibration
- GraXpert Background Extraction – Correction: Division
- GraXpert Background Extraction – Correction: Subtraction
- GraXpert Denoise – This will take a bit to run, especially on larger images.
Create a Starless Image
- Duplicate GraXpert Denoised image and rename the clone original_bedn
- Duplicate original_bedn and rename clone starless
- Run StarNet on the starless, the stars will be removed from the image.
Create a starmask using PixelMath
- PixelMath expression: ~((~orginal_bedn)/(~starless)) – This retains the star brightness and color by dividing the original by the starless.
- Rename PixelMath output to pm_starmask
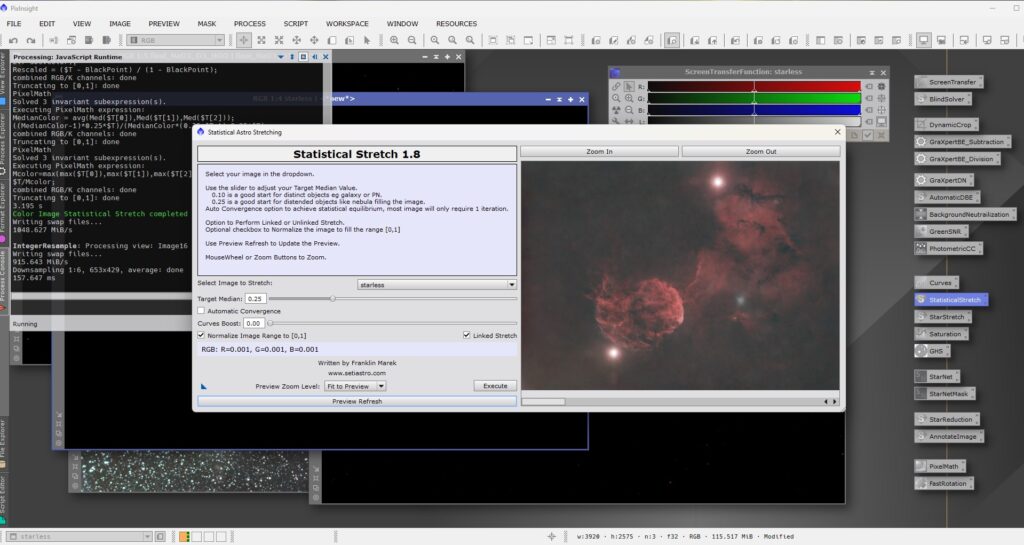
Stretching Starless using SetiAstro Statistical Stretch Script
- Run SetiAstro Statistical Stretch on the starless view
- Use GeneralizedHyperbolicStretch (GHS) process or Curves process on starless to adjust the colors/contrast.
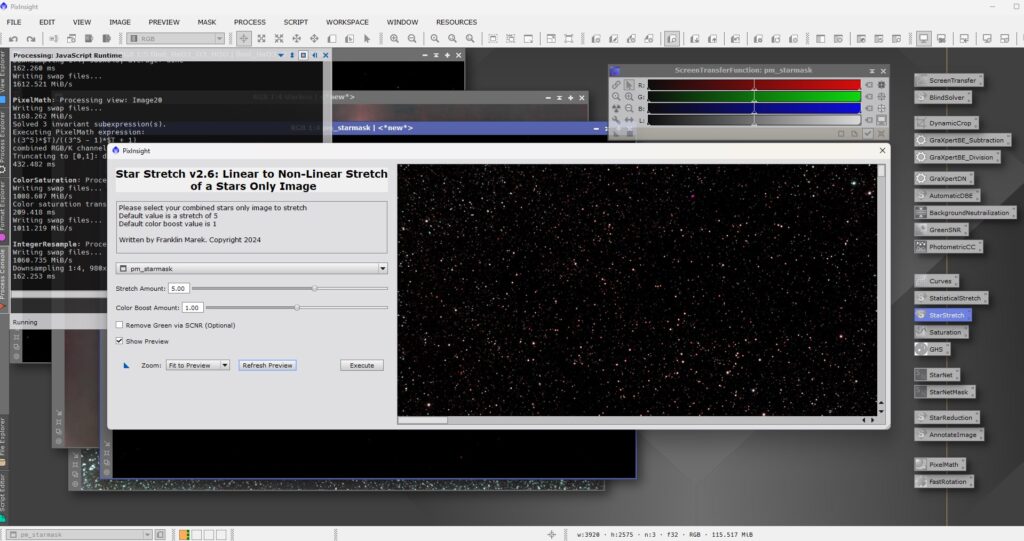
Stretching Stars using SetiAstro Star Stretch Script
- Run SetiAstro Star Stretch on the pm_starmask view
- Use GHS process or Curves process on pm_starmask to adjust colors/contrast.
Combine Starless (starless) and Stars (pm_starmask)
- PixelMath expression to combine Starless with Stars: ~((~starless)*(~pm_starmask)) or combine(starless, starmask, op_screen()) – Try both and compare which one give you the best results.
- Rename pixelmath output to pm_output
- Use GHS process or Curves process on pm_output to make any final adjustments to colors/contrast on final image. Adjustments here will likely be to be very small. For the final below I used Curves process to bring the lower end of the Red channel down just a bit.
- Save as a Project so you can return to learn some more.
The Results
Here are the results from my beginner workflow above as applied to a stack of 130 x 180 second exposures of the Jellyfish Nebula (IC 443).
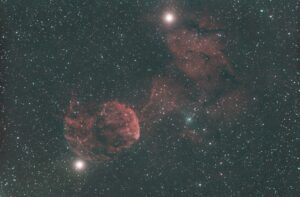
It could still use a bit of tinkering to get the colors exactly right, but over all a pretty nice image with some great details.
I have barely scratched the surface of the capabilities available in PixInsight. I think the workflow above provides a pretty decent way to get started. So much more to learn… Looks like clouds for the next few days so going to re-process some of my past data to learn a bit more and expand into some of PixInsight’s other capabilities.
Hope you found this post helpful. If you have any PixInsight Tips or Tricks for a beginner would love to hear them, just drop a comment below.
