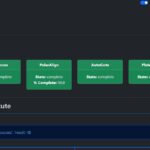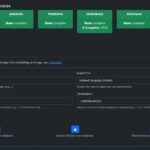
Friday night it snowed. Not too bad, a couple inches and a lot of it melted in the Sun on Saturday afternoon. Saturday night was cold and clear, the nearly full Moon was super bright. I set up and leveled the SeeStar just before dark. Around 7:30 PM I powered on the SeeStar and connected to the SeeStar Alp Simple SeeStar Controller (SSC) running on the Raspberry Pi.
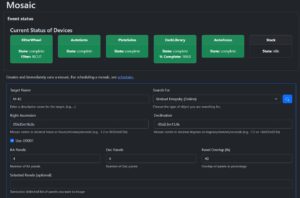
My original plan was to do a 4 x 4 panel with 15 minutes (90 x 10 seconds) per panel but I had a lot of issues with my wireless network and kept losing connection to the SeeStar and SeeStar Alp. I ended up having to stop the original run about an hour and a half into it (and 30% or so of the battery), reboot everything (SeeStar, SeeStar Alp, wireless router…), and restart capturing panels for the mosaic. After rebooting everything I reconfigured the 4×4 Mosaic to do 5 minutes per panel at 110 gain. Things went fine after the network was stable.
Creating the Mosaic with PixInsight
This is the process I used to stitch the Mosaic panels together. This took a bit of time to complete. I did not do any processing on the individual panels, but I am going to tinker around with that (ie doing background extraction or denoise before stitching the panels together).
First use the Image Solver script to solve each of the panels.
SCRIPT -> Astrometry -> ImageSolver
The FITS files which the SeeStar produces will have the necessary information in them so ImageSolver can do it’s thing. Add the FITS files of each of the Panels to the ImageSolver.
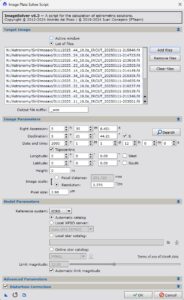
New Extensible Image Serialization Format (.xisf) files will be created with _wcs added to the file name.
Next register the panels using Mosaic by Coordinates script.
SCRIPT -> Mosaic -> MosiacByCoordinates
Add the _wcs.xisf output files from ImageSolver
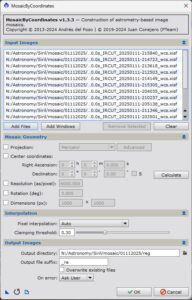
This will create new .xisf files with _ra added to the file name. I saved these off to a different output directory.
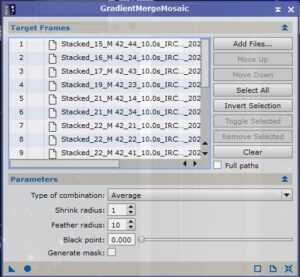
Finally create the mosaic image using Gradient Merge Mosaic process.
PROCESS -> All Processes -> GradientMergeMosaic
Add the _ra.xisf output files from MosiacByCoordinates script.
When the Gradient Merge Mosaic process completes the output is a single image of all the panels stitched together.
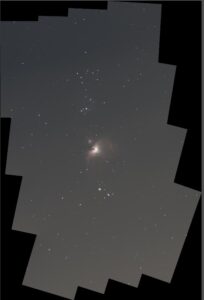
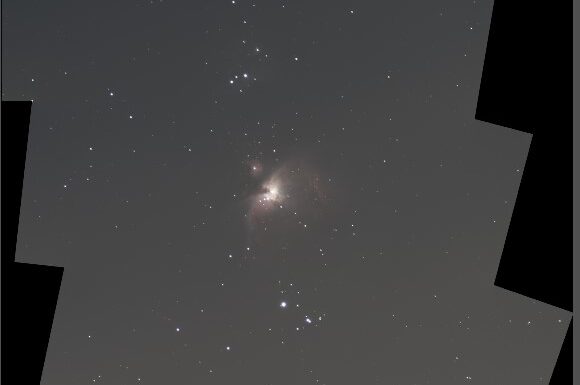
After cropping and a bit of processing in PixInsight this is the result.
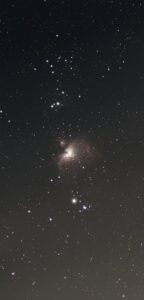
The gradient toward the bottom of the image was more than likely caused by the nearly full, very bright, Moon. Fixing it is beyond my current PixInsight skill set. Even with the gradient I don’t think that turned out too bad for my first mosaic, under a bright Moon, with just 5 minutes per panel.
Lots of interesting things going on so here is the annotated image.
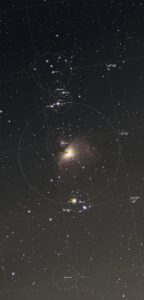
If I had centered the Mosaic on NGC 1977 I likely would have captured the first star in Orion’s belt with the Flame Nebula and the Horsehead Nebula as well. I may try that the next time I am out.
Not bad for a first go. Going to try it again tonight (if the sky stays clear).
I ordered a couple battery packs to help extend my SeeStar sessions.
Clear skies…
